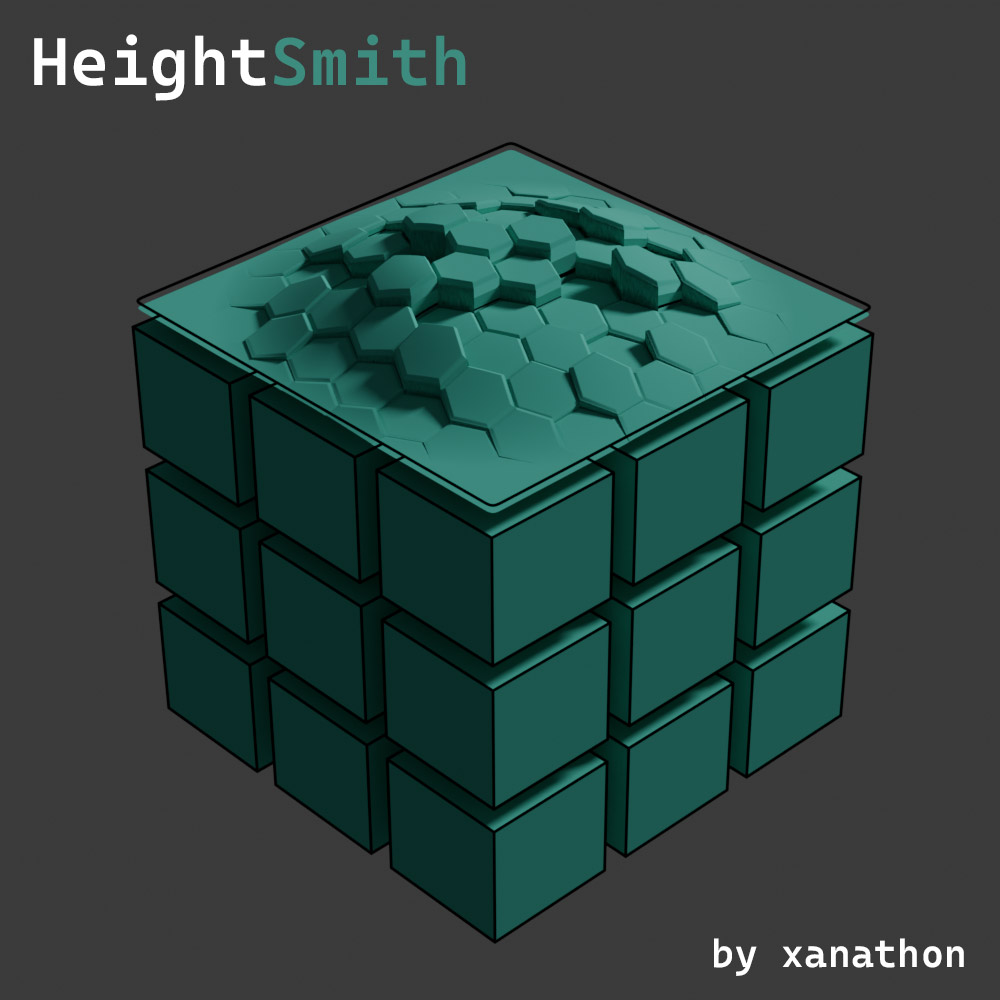
Note: This is a short usage introduction. The full
documentation - every layer and every control - is at
Documentation.
What it does
Builds height, normal, ambient-occlusion and curvature maps from a
stack of procedural layers — 40 generators, from hull
plating to terrain — entirely on your GPU.
All of it runs locally. The page is loaded once and then makes no
network request at all: nothing is uploaded, nothing is measured,
and nothing you build here leaves your computer.
The layer stack
Each layer is one pass that computes a height per pixel and blends
it into what is already there. Order matters: the topmost card is
applied last. Drag a card by its ⠯ handle to
reorder, click its name to expand it, and use its checkbox to
switch it off without removing it. Double click the name to call
the layer something of your own; clearing the field puts the
generator's name back.
+ Add layer opens the list of generators.
Objects beside it opens a second list: single
modules — a hatch, a bore, an intake, a screw, an escape
pod — lifted
out of the lattice layers so one can be placed on its own, where
you want it, and repeated in a row or a ring if you ask.
Every card carries two dice — one nudges the layer within its
character, the other redraws every value — along with a reset
to defaults, a duplicate and a remove.
Blend decides how a layer combines with the stack
beneath it: max raises, min and multiply
cut down, add accumulates. Opacity sets
how strongly it applies at all. Level min / max
squeezes its output into a brightness window, and
Invert flips the pattern before that window is
applied. Mask limits where it lands — by
height, by noise, or along a gradient. Seed offset
moves the layer to a different variation without touching the
others.
What the controls are called
The same words mean the same thing in every generator.
Columns and Rows are how many
cells across and down; a link toggle chains them while they are
equal. Size is how large the thing in a cell is.
Density is what fraction of the places are
occupied. Generators built on noise have no cells to count, so
their axes are Scale X and
Scale Y instead.
A Variation seed re-rolls only the variation
— which cells come out bright — and leaves positions
and sizes alone.
The 3D preview
3D in the top bar shows the height field as
geometry; the same button, now reading Texture,
brings the flat map back. Four surfaces: Plane,
3×3 tiles, Cylinder and
Sphere. Drag to orbit, wheel to zoom, and
Relief sets how far the height pushes the surface
out.
It is a preview, not a render: quality will differ in your own
software.
Seamless tiling
On by default. Three generators cannot tile and say so in their
description: Radial Rings, Frame, and Aztec Hull Panels once it is
switched to polar.
Use 2×2 tile check in the top bar to inspect
a seam, or the 3×3 surface in the 3D view to
see it in relief.
Export
16-bit PNG is the one to use for displacement; an
8-bit map has 256 height steps, which visibly terraces a dense
mesh. 32-bit EXR goes further. Preview resolution
and export resolution are set separately.
Download all as ZIP writes the ticked maps as one
archive, with the project file alongside them, so the recipe
travels with the result.
Save .json writes the whole setup to a file and
Load .json reads it back. Copy share
link packs it into the URL fragment, which browsers never
send to a server.
Where it comes from
Made by
xanathon.com. A spiritual successor to JSPlacement and Displacement X — and
inspired by those. Rebuilt around a GPU layer stack; no code or
assets are shared with either, and every pattern here is generated
procedurally.
Keyboard
- F1
- Open or close this help
- Esc
- Close this help
- R
- New random seed
- T
- Toggle the 2×2 tile check
- Ctrl+Z
- Undo
- Ctrl+Shift+Z
- Redo
- ← →
- Resize the sidebar, once its edge handle has focus
Layout
Drag the sidebar's left edge to resize it. The
− / + buttons in the top bar zoom the
controls, for high-density displays or tired eyes. Both are
remembered locally.